


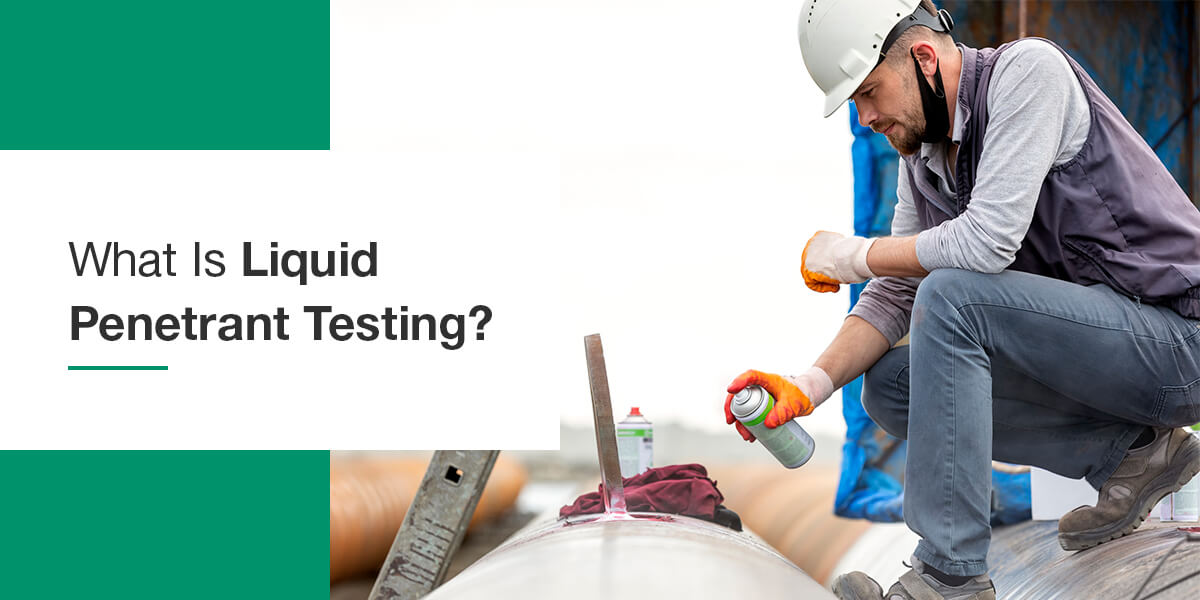
Guide To Liquid Penetrant Testing & How It Works
Jump to:
- How Does Liquid Penetrant Testing Work?
- Which Liquid Is Used in Liquid Penetrant Testing?
- What Are the Types of Penetrant Testing?
- Advantages of Liquid Penetrant Testing
Liquid penetrant testing is just one of an array of non-destructive testing (NDT) methods. A non-destructive test allows inspectors and manufacturers to determine if a product has any defects, such as hairline fractures, indents or other imperfections that could impact the proper functioning of a material.
Non-destructive testing is a fantastic way to evaluate materials without causing damage to their integrity or composition. Liquid penetrant testing is a cost-effective method of identifying any inconsistencies, defects or damage to nonporous materials like metals, plastics and ceramics.
Discover more about the liquid penetrant testing method below.
How Does Liquid Penetrant Testing Work?
The liquid penetrant testing procedure works by applying a penetrant to a nonporous surface and using a specific testing method to determine if excess penetrant reveals a defect in the material.
Step 1
The first step in a liquid penetrant inspection is to clean the entire surface of the material you will be testing. Because the liquid penetrant test relies on capillary action — liquid’s ability to flow through a narrow space — removing any initial dust or debris is essential to avoid blocking those areas. Using a clean, lint-free cloth is also important to avoid introducing additional particles onto the material being tested.
Step 2
Once the material has been thoroughly cleaned, the testing begins with the application of the liquid penetrant. A few main application techniques include:
- Brushing the liquid on
- Spraying it as an aerosol
- Dipping the material into the liquid
The liquid, usually a red color, will penetrate cracks and other breaks in the surface, even those undetectable by the human eye.
After the liquid penetrant is applied, the inspector must calculate the penetration time or the time in which the material should sit with the liquid penetrant. Usually, this time frame averages 10 minutes, but it ultimately depends on the type of material and the size of the defect. You might use a dwell time as short as five minutes or as long as 30.
Step 3
The next step involves cleaning the surface of the material once again. In this stage, it’s important again to use a clean, dry, lint-free cloth. Additionally, you should never spray cleaning material directly on the surface or do anything that could agitate the liquid penetrant out of any cracks or defects.
Step 4
After the second cleaning, a solution known as the developer — often white in color — is applied to the surface of the material. Then there is another standard waiting period, usually around 10 minutes, for the developer to work. Due to capillary action, the developer will draw out any remaining liquid penetrant and demonstrate where there are any cracks or breaks in the surface.
The high contrast between red and white makes these the two most common colors for penetrants and developers, respectively. However, some penetrants contain fluorescent pigments, which would light up when the material is exposed to ultraviolet (UV) light.
Step 5
In the final step, inspectors examine the material to see how or if the penetrant has leaked out, indicating there are cracks, defects or breaks in the surface. After evaluation, they simply clean off the remaining penetrant and developer.
Which Liquid Is Used in Liquid Penetrant Testing?
The three liquids or chemicals used in a liquid penetrant test are known as a test system. Swapping out one chemical for another one will not work and might impact the results of the test. It’s important to know about the different chemicals in the liquids to understand how they work together in a liquid penetrant test.
Cleaners
One of the most important steps to take to prepare a material for liquid penetrant testing is to clean the surface so it’s free of grease, oil and particulates. However, it’s equally important to ensure that no residue from that cleaning agent remains on the surface to impact the results of the test.
Most cleaners for a liquid penetration test system are solvent removers. These cleaners break down substances like grease and oil on the material without leaving behind a heavy residue that would impact the test. Other types of cleaning methods might include:
- Detergents
- Vapor degreasing
- Steam cleaning
- Ultrasonic cleaning
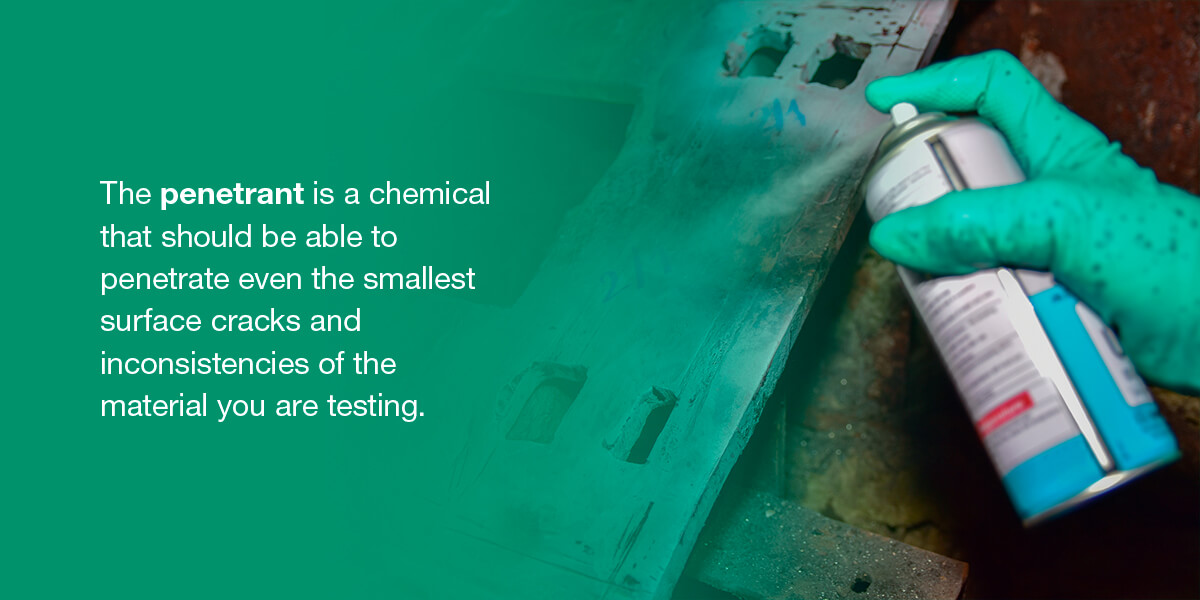
Penetrants
The penetrant is a chemical that should be able to penetrate even the smallest surface cracks and inconsistencies of the material you are testing. Thus, the liquid should have a good wetting capability and fill any small break in the surface.
The penetrant sits on the material for a range of five to 30 minutes. The amount of time depends on the size of the defect — a longer penetration time will result in the discovery of smaller defects. Penetrants usually come as red-colored or florescent chemicals so they provide a good contrast to the developer.
Developers
The developer helps bring out the defects in the material after the penetrant is cleaned off. There are five basic types of developers:
- Dry powder
- Water-soluble
- Water-suspendable
- Nonaqueous for fluorescent penetrant
- Nonaqueous for visible penetrant
Liquid Penetrant Testing Methods
There are three basic types of penetrant testing:
- Water-washable: While most penetrants use oil-based products, for water-washable testing the penetrant is mixed with an emulsifier to make the penetrant removable by use of water.
- Post-emulsifying: These penetrants contain no emulsifiers, so they can’t be washed off with water. To remove the penetrant for this type of test, you would use an emulsifier after the penetration period.
- Solvent removable: Often in aerosol sprays, this test type uses post-emulsifying or water-washable penetrants. They can be removed by wiping the surface.
Advantages of Liquid Penetrant Testing
Liquid penetrant testing is a great non-destructive testing option for these reasons:
- Speed: Unlike some other testing methods, the liquid penetrant test does not take too much time. All in all, the process could take as little as 30 minutes for some materials.
- Cost-savings: Because it doesn’t involve complicated procedures, machinery or expensive chemicals, liquid penetrant testing is a cost-effective way to quickly check for defects in nonporous materials.
- Coverage: Because liquid has such a great ability to cover surfaces, this is a great testing method for geometrically complex or irregular structures and shapes.
- Sensitivity: A liquid penetrant test is much more sensitive than a simple physical examination of an item. The capillary action of liquids means that this test can reveal minute or even microscopic defects on a surface.

Choose Fujifilm for Your NDT Needs
Non-destructive testing is the preferred testing method across many industries due to its speed and accuracy. It prevents damage to the finished part while still thoroughly analyzing it for defects and inconsistencies with the manufacturer’s specifications.
With digital radiography tools and X-ray equipment from Fujifilm, plus comprehensive training services, your business can benefit from less downtime for inspections, reduced waste and improved quality and performance of your products.
To learn more about our non-destructive testing solutions, contact us today.