What Is Aircraft Fatigue?

Jump to:
- What Is Aircraft Fatigue?
- Causes of Aircraft Fatigue?
- Testing and Regulations for Aircraft Fatigue
- How NDT Can Help
While aircraft fatigue is inevitable, allowing your aircraft to accumulate too much wear can become a safety hazard. Understanding how to test for aircraft fatigue can help you prevent catastrophic structural failure, comply with federal regulations, and protect pilots and passengers.
What Is Aircraft Fatigue?
Aircraft fatigue, also called metal fatigue, occurs when metal aircraft components age and weaken over time after repeated exposure to environmental factors.
Aircraft begin aging the moment they start flying. This aging begins with microscopic cracks in the metal, which grow and worsen over time until flight becomes unsafe. Aircraft typically reach this point after a specific number of flight cycles, which is known as the limit of validity (LOV).
Each make and model has a unique LOV. Once an aircraft reaches its LOV, it is too fatigued for repairs to be effective. As a result, it is time to retire that plane.
What Are the Causes of Aircraft Fatigue?
Although you can take steps to manage metal fatigue, it is impossible to prevent it from happening entirely due to the stresses aircraft experience during flight.
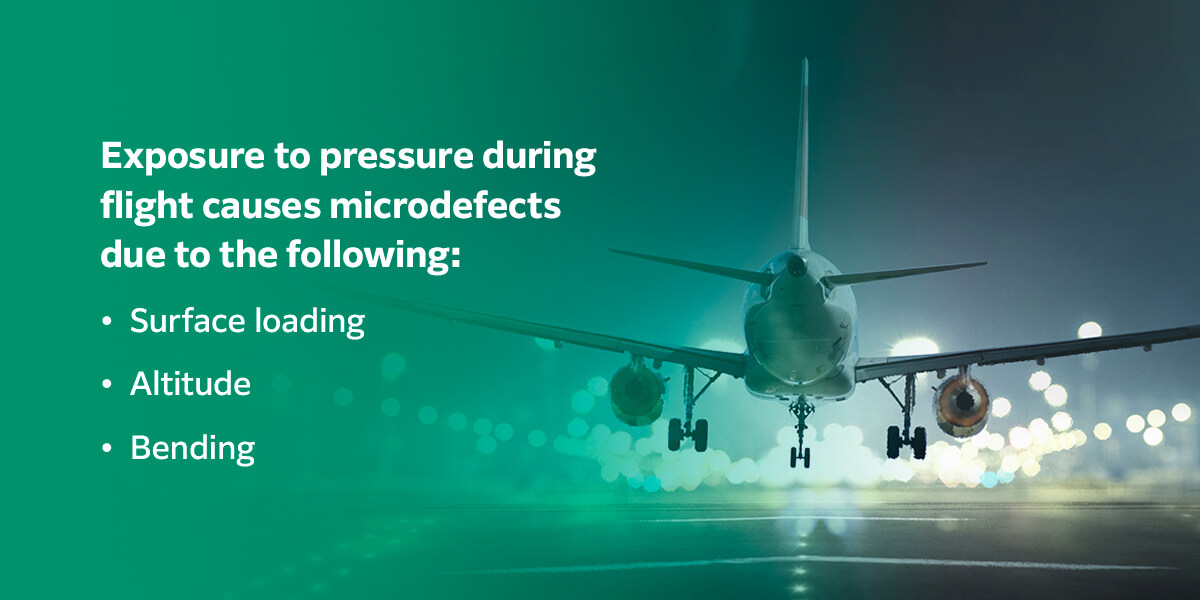
Atmospheric pressure is one of the primary causes of fatigue accumulation. Exposure to pressure during flight causes microdefects due to the following:
- Surface loading: Outside exposure during flight maneuvers leads to changes in wing and surface loading, which can cause surface cracks.
- Altitude: While flying at high altitudes, the pressurization and subsequent depressurization cause the aircraft’s metal skin to expand and contract, leading to damage.
- Bending: Every time metal bends in response to a force and returns to its original shape, it becomes weaker at the bending point. This fatigue builds over time until the metal finally breaks at the hinge.
Other contributing factors include exposure to turbulence, G-forces and corrosion.
Cracks usually begin appearing in internal and external load-bearing components and around fastener holes. However, cracks can develop in any area that repeatedly experiences concentrated stresses. For example, high-speed parts such as engines are likely to crack and reach structural failure faster than stationary elements. It’s important to monitor these components closely to catch early signs of damage.
Grinding and polishing metal surfaces can aid in aircraft fatigue prevention by removing some microdefects. However, regular inspection and maintenance are still necessary to monitor fatigue accumulation.
Testing and Regulations for Aircraft Fatigue
While most accurate testing techniques are still relatively new, you can use the LOV to gauge how much time a specific aircraft or part has before it’s likely to suffer widespread fatigue damage (WFD).
The manufacturer establishes an aircraft’s LOV using data collected through various fatigue testing methods, including:
- Full-scale aircraft and component tests
- Partial aircraft and component tests
- Fleet-proven statistics
- Disassembly and refurbishment of aging aircraft
The LOV helps operators understand how many flight cycles an aircraft frame can withstand before reaching the point of imminent structural failure. It also helps to minimize fatigue at the microscopic level, which helps extend the life span of your plane.
Why Is the LOV Important?
Measuring against the manufacturer’s LOV is critical for ensuring aircraft safety and remaining compliant with airworthiness directives (ADs) from the Federal Aviation Administration (FAA). If an aircraft is not compliant with its corresponding AD, you cannot fly it legally.
Since publishing the 2011 Advisory Circular (AC), the FAA has required all manufacturers and operators to regularly inspect and report the LOV progress of their active aircraft. This documentation helps ensure companies retire aging aircraft before catastrophic failure can occur.
The older an aircraft is, the more in-depth maintenance it will need. Those requirements are based on what you know about the airplane at any given time. Therefore, you can determine maintenance tasks depending on how close your aircraft is to its LOV.
You can also apply for an extended LOV if your aging aircraft is still in good condition.
How NDT Can Help
Non-destructive testing (NDT) helps you inspect and maintain your aircraft’s metal components without causing additional damage to the structures. These non-invasive processes are useful for identifying signs of fatigue before they become problematic.
Some of the most effective NDT methods include:
- Conventional X-ray film radiography: One of the most commonly used NDT methods, X-ray testing involves exposing a sheet of film to X-rays to create a radiographic image. This technique requires a darkroom and various chemical solutions to develop the images.
- Computed radiology (CR): CR is a digital alternative to conventional X-ray film radiography that dramatically shortens exposure and processing time. Instead of film, it uses an imaging plate that can be digitized and displayed using imaging software.
- Digital Detector Array (DDA): DDA is another digital method that creates an image by converting ionizing radiation into an array of analog signals. The DDA device then digitizes those signals and transfers them to a computer for display, which reveals any imperfections.
- Ultrasound: Ultrasound devices detect subsurface defects by sending high-frequency sonic pulses into the metal. When a wave hits a crack or other imperfection, it bounces back, enabling you to measure the flaw’s size and depth.
- Liquid penetrants: This process works by applying colored liquid penetrants to the component’s surface, which fill small flaws in the metal. Using UV light or colored dye on the part makes these imperfections visible.
You can use one primary method for your inspections or mix and match multiple to create a more comprehensive testing and maintenance strategy.
CR/DDA in Aircraft Testing
Testing aircraft elements using CR/DDA methods is advantageous for most aviation applications due to the technology’s ability to find subsurface imperfections in almost all aircraft metals. Both solutions enable you to use digital imagery to inspect component quality, which reduces consumable usage and shortens image processing time since you don’t need a darkroom.
Each technique has its advantages and drawbacks. Here is a quick comparison of each:
Computed Radiography (CR)
CR imaging and analysis is primarily software-based, eliminating the need for a darkroom and the associated chemicals. However, it includes one more step than DDA, making it more time-consuming. However CR can be advantageous over DDA when needing to inspect extremely small defects because it has 25μm spatial resolution which is superior to the resolution of DDA’s available on the market at this time. CR also is advantageous when an area in an tight space needs to be radiographed because an image plate is thin and flexible so it can be placed in a tight space vs DDA’s are much larger and rigid making it unable to fit in some areas.
Digital Detector Arrays (DDA)
The DDA process has fewer steps than the CR process, allowing for even shorter processing times. However, DDA technology is highly sensitive to environmental factors such as humidity, temperature and dust, making it more suitable for controlled environments.
Whether you are inspecting your complete aircraft or only a few components, using CR/DDA radiography can streamline your inspection process and help you stay compliant.
Fujifilm’s CR/DDA Solutions for Aircraft Testing
As a leader in the NDT space, we strive to provide the most reliable radiography testing equipment for sensitive applications such as aircraft inspections. You can trust our CR and DDA products to create accurate images quickly and efficiently.
You can speed up your routine aircraft inspections with CR/DDA solutions from Fujifilm. Browse our online selection of CR/DDA testing products, or contact us for more information about our CR/DDA solutions for aerospace and aviation.


